You’re finally ready to launch your Virtual Assistant business and build your career – that’s amazing! But let’s get real for a moment: is a website really needed? Not necessarily. If you have a well-organized portfolio, that can absolutely suffice. I was in business for almost a year before I created my website, and by then, I was already fully booked. I decided to make one anyway, not because I needed it to attract clients but to continue building my online presence and establish a professional footprint for future growth. Now, if you’re ready to take your business to the next level with a website, let’s dive in and make it happen.
Why Your Website Matters
Your website is your virtual storefront. It’s the first impression clients have of your business. It tells them:
- Who you are
- What you offer
- Why they should hire you
Potential leads might keep scrolling without a clear, professional, and inviting website. Don’t worry—building a standout website doesn’t have to be complicated or expensive.
Step 1: Define Your Niche and Ideal Client

Before you start building your site, you need to be crystal clear on who you’re speaking to. Are you targeting busy entrepreneurs, small business owners, or solopreneurs in specific industries like real estate, wellness, or e-commerce? Knowing your niche helps you:
- Tailor your messaging
- Highlight relevant skills
- Attract the clients you’ll love working with
Pro Tip: Use niche-specific language on your homepage. For example, instead of saying, “I’m a virtual assistant who helps everyone,” you might say, “I help e-commerce business owners manage their daily operations so they can focus on scaling their store.”
Step 2: Choose the Right Website Platform

Gone are the days when you needed to learn complicated coding to build a website. With platforms like Canva, creating a professional website is a breeze. Canva’s website templates are easy to customize, mobile-friendly, and perfect for showcasing your brand.
If Canva isn’t your style, other user-friendly options include Wix, Squarespace, and WordPress.
Step 3: Craft Compelling Copy

Your website copy needs to speak directly to your ideal client. Think of it as having a one-on-one conversation with them. Here are the key pages and what they should include:
Homepage
- Headline: A clear, bold statement of what you offer and the problem you solve. Example: “Helping Coaches and Creatives Streamline Their Business with Professional Virtual Assistant Services.”
- Call-to-Action (CTA): Encourage visitors to take the next step, like booking a discovery call or downloading a freebie.
About Page
- Share your story about how you got started as a VA.
- Highlight your unique skills, qualifications, and personality.
- Use a relatable tone but still maintain professionalism.
Services Page
- Break down your services clearly. Use bullet points or short paragraphs for easy readability.
- Consider offering tiered packages to appeal to different budgets.
- Include a FAQ section to address common client concerns.
Portfolio Page (if applicable)
- Showcase your past work, testimonials, or case studies.
- If you’re new, create mock projects to display your skills.
Contact Page
- Include a simple form with fields like name, email, and the type of service they’re interested in.
- Add your email address and social media links for alternative ways to connect.
Step 4: Design for Aesthetics and Functionality

Your website should look professional and visually appealing without overwhelming visitors. Here’s how to nail the design:
- Branding: Stick to 2-3 colors, 1-2 fonts, and consistent imagery that aligns with your niche.
- Layout: Keep it clean and organized. Avoid clutter.
- Mobile Optimization: Ensure your website looks great on smartphones and tablets.
Pro Tip: Canva’s templates make it easy to customize colors, fonts, and layouts to reflect your unique brand.
Step 5: Add Testimonials and Social Proof

Nothing builds trust like hearing from satisfied clients. If you’re new and don’t have testimonials, ask for feedback from friends, family, or beta clients you’ve worked with.
Examples of Social Proof:
- Client reviews
- Screenshots of positive feedback
- Links to successful projects
Step 6: Make Your Call-to-Actions Irresistible

Every page should have a clear CTA to guide visitors. Examples include:
- “Book a Free Consultation”
- “Download My Pricing Guide”
- “Get Started Today”
Use action-oriented language and make your CTAs stand out visually.
Step 7: Optimize for SEO

Search engine optimization (SEO) helps potential clients find you online. Basic SEO tips include:
- Using keywords like “virtual assistant services” and “freelance admin support.”
- Adding alt text to images
- Writing meta descriptions for each page
Step 8: Test and Launch

Before you share your website with the world, test it thoroughly:
- Click every link to ensure they work.
- Check the layout on both desktop and mobile devices.
- Proofread your copy for typos or errors.
Once you’re confident everything is polished, hit publish and start sharing your new site!
Simplify Your Website Creation with Canva Templates
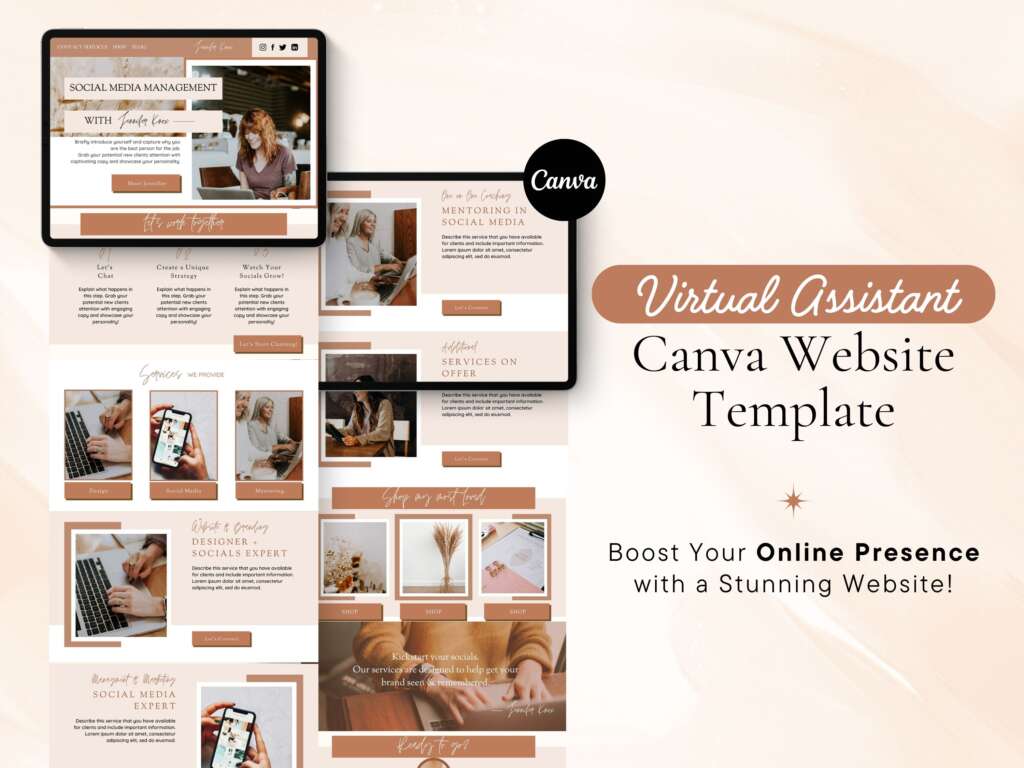
Feeling overwhelmed by the thought of starting from scratch? Don’t worry—I’ve got you covered. My Canva Website Templates are designed specifically for virtual assistants who want a professional, beautiful, and functional website without the hassle.
Here’s what you’ll get:
- Customizable templates to showcase your business.
- Easy-to-edit branding elements to reflect your unique style
- Step-by-step instructions to help you launch your site in hours, not days
With these templates, you can focus on what you do best—serving your clients—while still having a website that impresses and converts. Ready to build your dream VA website? Click here to grab your Canva Website Templates now!